Playback starts YouTube’s embedded player (privacy-enhanced mode).
How to enable Telnet Windows 7
ChannelWendy M. ChisholmDescription from the creator
How to enable telnet in Windows 7 and connect to any UNIX server:
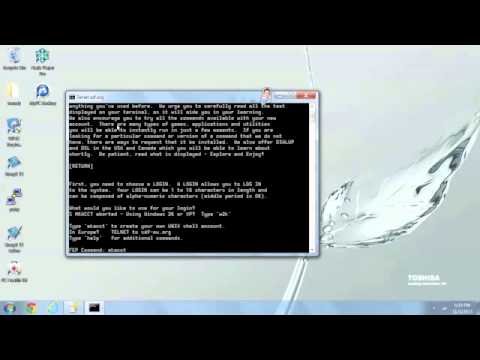
How to connect to SDF.org with windows and windows 7.
In order to connect to a unix server you must be able to use the protocol Telnet. And we use COMMAND PROMPT to communicate back and forth with a UNIX server.
All Windows OS's other then Windows 7 has the protocol Telnet is enabled. So if you own a Windows 7 operating system here are the steps you must do to enable Telnet:
1. Click "Start"
2. Click "CONTROL PANEL"
3. Click the link "PROGRAMS"
4. Under the Windows and Feature click "TURN WINDOWS FEATURES ON OR OFF"
5. A new window will appear withe a list of features with checkboxes, scroll until you find "TELNET CLIENT", "TELNET SERVER", and "TELNET TFTP", check all three boxes and click apply.
6. A new box will appear, asking you wait, takes it takes about a minutes, when this process is finished, you'll see a green lined appear and disappear... you have successfully enabled your telnet protocol.
Now how to do you connect to a UNIX server? You use the command prompt, and here is where you find it if you are any Windows user, other then a Windows 7 user:
1. Click Start
2. Click RUN
3. Type CMD in the input box.
If you are a WINDOWS 7 USER follow these instructions to find your command prompt:
1. Click "Start"
2. Click "ALL PROGRAMS"
3. Click and open the folder "ACCESSORIES"
4. Locate and click the program "COMMAND PROMPT"
How to connect to SDF.org with windows and windows 7.
In order to connect to a unix server you must be able to use the protocol Telnet. And we use COMMAND PROMPT to communicate back and forth with a UNIX server.
All Windows OS's other then Windows 7 has the protocol Telnet is enabled. So if you own a Windows 7 operating system here are the steps you must do to enable Telnet:
1. Click "Start"
2. Click "CONTROL PANEL"
3. Click the link "PROGRAMS"
4. Under the Windows and Feature click "TURN WINDOWS FEATURES ON OR OFF"
5. A new window will appear withe a list of features with checkboxes, scroll until you find "TELNET CLIENT", "TELNET SERVER", and "TELNET TFTP", check all three boxes and click apply.
6. A new box will appear, asking you wait, takes it takes about a minutes, when this process is finished, you'll see a green lined appear and disappear... you have successfully enabled your telnet protocol.
Now how to do you connect to a UNIX server? You use the command prompt, and here is where you find it if you are any Windows user, other then a Windows 7 user:
1. Click Start
2. Click RUN
3. Type CMD in the input box.
If you are a WINDOWS 7 USER follow these instructions to find your command prompt:
1. Click "Start"
2. Click "ALL PROGRAMS"
3. Click and open the folder "ACCESSORIES"
4. Locate and click the program "COMMAND PROMPT"
About this tutorial
Wendy M. Chisholm published this 6:34 video tutorial on October 31, 2014. It has been watched 13,610 times on YouTube.
- Channel
- Wendy M. Chisholm
- Category
- Howto & Style
- Duration
- 6:34
- Published
- October 31, 2014
- Views
- 13,610
- Likes
- 37
Tags
Share
This tutorial in other languages
- FRComment activer Telnet Windows 7
- ESCómo activar Telnet de Windows 7
- PTComo habilitar Telnet Windows 7
- ITCome attivare Telnet Windows 7
- DEWie Telnet Windows 7 aktivieren
- NLHoe te Telnet Windows 7 mogelijk te maken
- RUКак включить Telnet Windows 7
- PLJak włączyć Telnet Windows 7
- JATelnetのWindows 7のを有効にする方法
- ARكيفية تمكين التلنت ويندوز 7
- HIटेलनेट विंडोज 7 को कैसे सक्षम करें
- IDCara mengaktifkan Telnet Windows 7