Playback starts YouTube’s embedded player (privacy-enhanced mode).
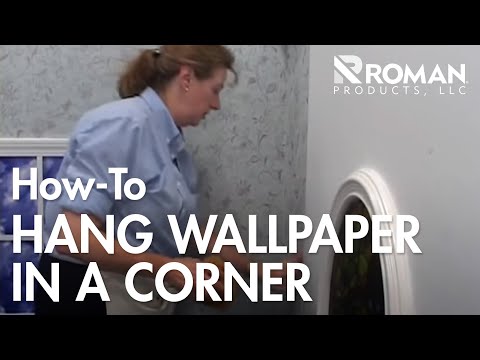
How to Hang Wallpaper in a Corner
ChannelRomanDescription from the creator
Figuring out how to wallpaper a corner without creating a pattern mismatch or leaving an annoying gap beneath the wallcovering at the bend of the wall requires a little preparation on your part. Fortunately, placing wallpaper into corners isn’t really that difficult if you know what you’re doing. Even a non-professional can master the art of applying wallcoverings in these areas without the need for wallpaper corner edging or similar decorative solutions. And ROMAN Products is here to help you learn.
Our video tutorial shows you how to wallpaper corners to produce a seamless, elegant effect.
HOW TO HANG WALLPAPER IN A CORNER
1. Take your wallpaper to the corner and tack up each side of the paper on either side of the corner. Before working on the corner, ensure your pattern matches with previously hung wallpaper. Gently push the wallpaper into the corner while smoothing out the side pattern matched at the seam. Reposition the wallpaper as needed.
2. With the pattern match set, use a smoothing tool to firmly push the wallpaper into the inside corner. Then, place the smoothing tool against the wall and use a sharp snap-blade knife to cut wallpaper at the corner. Be sure to work from the ceiling to the floor, changing to a new blade if necessary. Once the corner is cut, trim the excess paper from the top and bottom of the wallpaper section nearest the seam.
3. On the new wall, reposition the wallpaper as needed to match the pattern. Many inside corners are not perfectly square, so take care to ensure the outside wallpaper seam is straight and plumb. Smooth out any bubbles and trim excess paper at the ceiling and floor. Any residual wallpaper paste can be washed away with a damp rag or sponge.
Be sure to visit ROMAN Products online for more information on the best wallcovering accessories on the market today. Our product catalog includes a variety of high-quality wallpaper adhesives: romandecoratingproducts.com/wallcovering-adhesi…
About this tutorial
Roman published this 11:50 video tutorial on October 25, 2013. It has been watched 552,037 times on YouTube.
- Channel
- Roman
- Category
- Howto & Style
- Duration
- 11:50
- Published
- October 25, 2013
- Views
- 552,037
- Likes
- 1,579
Tags
Share
Further reading
-
How to Wallpaper Corners - dummies
dummies.com
Hanging wallpaper is a good do-it-yourself project, but wallpapering corners to make them look perfect can be a challenge. Get great results on wallpapering inside and outside corners by following these tips for a profe…
-
How to wallpaper in corners | Wallpapering Instructions | Lookbook ...
wallpaperfromthe70s.com
How to tackle inner corners when using thin wallpaper: 1 Measure the last length again, adding a small overlap (about 1 - 2 cm) in width, and cut it. 2 Now hang the paper just like you did with the previous lengths. 3 P…
-
How to Wallpaper Corners and Around Trim: 11 Steps (with Pictures)
wikihow.com
Use a plumb bob at a distance of 1 inch (3 cm) less than the width of your wallpaper on the wall on the other side of the corner. Hang this sheet, carefully pressing it into the corner on top of the first sheet. Notice…
This tutorial in other languages
- FRComment accrocher Fond d'écran dans un coin
- ESCómo colgar fondo de pantalla en una esquina
- PTComo Wallpaper Pendure em um canto
- ITCome Sfondo appendere in un angolo
- DEWie zu hängen Tapeten in einem Corner
- NLHoe kan ik Hang Wallpaper in een Hoek
- RUКак клеить обои в углу
- PLJak powiesić tapety w rogu
- JAどのコーナーでハング壁紙へ
- ARكيفية خلفيات شنق في ركن
- HIकैसे करने के लिए एक कोने में हैंग वॉलपेपर
- IDBagaimana Hang Wallpaper di Pojok