Playback starts YouTube’s embedded player (privacy-enhanced mode).
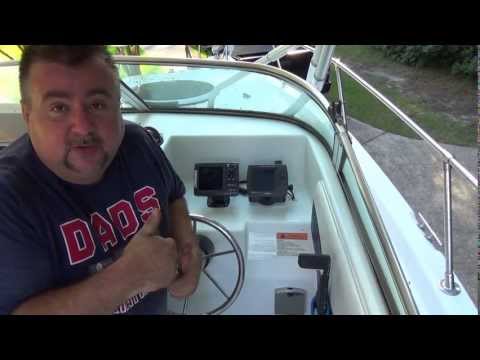
How To: Install a Combo Fishfinder and GPS Chartplotter on your Boat
ChannelDaniel ScheerDescription from the creator
Looking to install a depth sounder, fishfinder, or chartplotter on your boat? In this video, we walk you through a complete, step-by-step installation of a Lowrance Elite 5 DSI Combo Chartplotter / Fishfinder.
Whether you're working with Lowrance, Garmin, Raymarine, Eagle, Furuno, or Simrad, the core installation principles are virtually identical across all major marine electronics brands!
🔧 In This Video, You’ll Learn:
How to properly position and mount the sonar transducer on the boat transom for accurate readings at speed.
How to safely route transducer and power cables through the hull without leaks.
Wiring and connecting the main display unit cleanly on the cockpit dashboard.
Power supply connections, fusing, and cable management best practices.
Universal installation tips that apply to all major marine electronics brands.
🛠️ Tools & Materials Featured:
Lowrance Elite 5 DSI Combo Chartplotter / Fishfinder
Marine-Grade Polyurethane Sealant (e.g., 3M 4200 or 5200)
Cordless Drill & Marine-Grade Drill Bits
Fish Tape / Wire Router & Zip Ties
Wire Strippers & Heat-Shrink Crimp Connectors
💬 What brand of fishfinder are you installing on your boat? Drop your boat model and electronics setup in the comments below if you have any questions during your install!
Don't forget to LIKE and SUBSCRIBE to HowToInAFew for more straightforward, step-by-step DIY tutorials!
#BoatLife #Fishfinder #Lowrance #Chartplotter #TransducerInstall #BoatDIY #HowToInAFew
Whether you're working with Lowrance, Garmin, Raymarine, Eagle, Furuno, or Simrad, the core installation principles are virtually identical across all major marine electronics brands!
🔧 In This Video, You’ll Learn:
How to properly position and mount the sonar transducer on the boat transom for accurate readings at speed.
How to safely route transducer and power cables through the hull without leaks.
Wiring and connecting the main display unit cleanly on the cockpit dashboard.
Power supply connections, fusing, and cable management best practices.
Universal installation tips that apply to all major marine electronics brands.
🛠️ Tools & Materials Featured:
Lowrance Elite 5 DSI Combo Chartplotter / Fishfinder
Marine-Grade Polyurethane Sealant (e.g., 3M 4200 or 5200)
Cordless Drill & Marine-Grade Drill Bits
Fish Tape / Wire Router & Zip Ties
Wire Strippers & Heat-Shrink Crimp Connectors
💬 What brand of fishfinder are you installing on your boat? Drop your boat model and electronics setup in the comments below if you have any questions during your install!
Don't forget to LIKE and SUBSCRIBE to HowToInAFew for more straightforward, step-by-step DIY tutorials!
#BoatLife #Fishfinder #Lowrance #Chartplotter #TransducerInstall #BoatDIY #HowToInAFew
About this tutorial
Daniel Scheer published this 19:59 video tutorial on October 29, 2013. It has been watched 256,468 times on YouTube.
- Channel
- Daniel Scheer
- Category
- Howto & Style
- Duration
- 19:59
- Published
- October 29, 2013
- Views
- 256,468
- Likes
- 905
Tags
Share
This tutorial in other languages
- FRComment faire pour installer un Traceur Combo échosondeur et GPS sur votre bateau
- ESCómo: Instalar un Combo Sonda y GPS plotter en su barco
- PTComo: Instalar um Combo Fishfinder e GPS Chartplotter em seu barco
- ITHOW TO: Installare un Combo ecoscandaglio e GPS chartplotter sulla vostra barca
- DEHow To: Installieren Sie eine Combo Angel-Echolot und GPS-Kartenplotter auf dem Boot
- NLHow To: Installeer een Combo Fishfinder en GPS-kaartplotters op uw boot
- RUКак: Установить Combo Fishfinder и GPS картплоттера на лодке
- PLJak: Instalowanie Combo Fishfinder i ploter GPS na łodzi
- JAHOW TO:あなたのボートの上にコンボ魚群探知機やGPS CHARTPLOTTERをインストールします。
- ARكيفية: تثبيت كومبو FISHFINDER وGPS Chartplotter على قارب الخاص بك
- HIकैसे के लिए: अपने नाव पर स्थापित एक कॉम्बो Fishfinder और जीपीएस Chartplotter
- IDCara: Instal sebuah Combo Fishfinder dan GPS chartplotter di Boat Anda