Playback starts YouTube’s embedded player (privacy-enhanced mode).
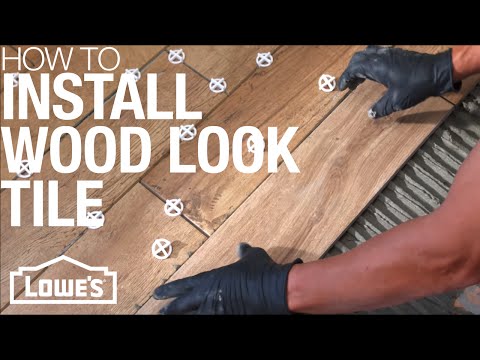
How To Install Wood Look Tile
ChannelLowe's Home ImprovementIn brief
Transform a space with wood-look tile by following this hands-on guide. You’ll strip away old flooring, prep the subfloor, lay a substrate, plan your tile layout, install the tile, and finish with grout—ideal for those with tile experience.
Key steps
- Remove old flooring and adhesive completely
- Install the recommended tile substrate layer
- Plan and mark the tile layout for alignment
- Lay the wood-look tile following the layout
Questions & answers
What if my subfloor isn’t perfectly flat?
Repair uneven areas before installing the substrate.
Description from the creator
Love the look of wood but want tile? Watch to learn how to install wood look tile. Click here to learn more: low.es/1PzNbJA
STEPS:
00:10 - Installation overview
00:50 - Remove old flooring & glue
01:02 - Prep/repair the subfloor
01:49 - Install the tile substrate
03:05 - Plan tile layout
03:53 - Install the floor tile
05:26 - Grout the tile joints
Difficulty Level: Advanced. If you are not 100% confident installing tile flooring, Lowe's recommends that you hire a professional. Call 1-877-GO-LOWES or visit low.es/2C1mABH to learn more about installation services through Lowe’s.
Subscribe to Lowe's YouTube: bit.ly/1blLmvD or head to our channel: youtube.com/Lowes
For more ideas to improve your home, check out Lowe's How-To Library or our other social media channels:
Lowe's - lowes.com/how-to-library
Facebook - facebook.com/lowes
Twitter - twitter.com/lowes
Pinterest - pinterest.com/lowes
Instagram - instagram.com/loweshomeimprovement
STEPS:
00:10 - Installation overview
00:50 - Remove old flooring & glue
01:02 - Prep/repair the subfloor
01:49 - Install the tile substrate
03:05 - Plan tile layout
03:53 - Install the floor tile
05:26 - Grout the tile joints
Difficulty Level: Advanced. If you are not 100% confident installing tile flooring, Lowe's recommends that you hire a professional. Call 1-877-GO-LOWES or visit low.es/2C1mABH to learn more about installation services through Lowe’s.
Subscribe to Lowe's YouTube: bit.ly/1blLmvD or head to our channel: youtube.com/Lowes
For more ideas to improve your home, check out Lowe's How-To Library or our other social media channels:
Lowe's - lowes.com/how-to-library
Facebook - facebook.com/lowes
Twitter - twitter.com/lowes
Pinterest - pinterest.com/lowes
Instagram - instagram.com/loweshomeimprovement
About this tutorial
Lowe's Home Improvement published this 6:31 video tutorial on October 26, 2016. It has been watched 3,438,217 times on YouTube.
- Channel
- Lowe's Home Improvement
- Category
- Howto & Style
- Duration
- 6:31
- Published
- October 26, 2016
- Views
- 3,438,217
- Likes
- 13,189
Tags
Share
This tutorial in other languages
- FRComment faire pour installer Bois Rechercher Carrelage
- ESCómo instalar madera mirada del azulejo
- PTComo instalar madeira do olhar da telha
- ITCome installare effetto legno Tile
- DEWie man Holzoptik Fliesen installieren
- NLHow To Wood Look Tile Install
- RUКак установить Wood Look плитки
- PLJak zainstalować Wood Look Tile
- JAウッドルックタイルをインストールする方法
- ARكيفية تثبيت الخشب نظرة بلاطة
- HIलकड़ी देखो टाइल स्थापित करने के लिए कैसे
- IDCara Install Wood Lihat Tile