Playback starts YouTube’s embedded player (privacy-enhanced mode).
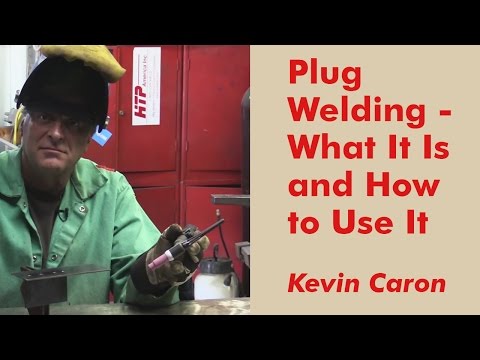
How to Plug Weld - and Why You'd Want To - Kevin Caron
ChannelKevin Caron, ArtistDescription from the creator
From kevincaron.com - Artist Kevin Caron shows how to weld two pieces of metal together so there's nothing to grind afterward ....
A viewer is making some furniture and wants to make some T-joints but has very tight clearances. She doesn't want to have to grind all the welds so the drawer will slide in and out. Is there a way to weld it, make sure it's secure, and not have to do all that grinding?
Yes: plug welding. "It's really easy," says Caron.
Draw a line on one piece of metal where you want the other piece of metal to sit. Then mark where you want to drill holes. Then put the other piece of metal on the line over the holes and weld right through the holes.
Before he drills the holes - ANY hole, Caron says - centerpunch where you want the hole. That makes it clear to you where you are going to drill and gives your drill a place to center so it doesn't walk across the metal and end up with a hole off center.
Caron is using a woodworking centerpunch. He puts the pointy end where he wants the hole, pulls up on the other end and lets go, creating a mark where he wants his hole.
Now he puts on his safety glasses and goes to his drill press. As he drills, he explains how important it is to just use the weight of your hand to cut. Pushing down too hard just damages the drill bit. Drills last a lot longer if you don't push down hard!
With his holes drilled, Caron steps over to his bench grinder, which he uses to buzz off the back of the metal where he drilled the holes. You can use a handheld angle grinder, too.
Caron has stuck the bottom plate to the edge of the other plate, which is held on a welding magnet. He looks down through the holes to see the bright shiny metal of the bottom piece.
The magnet is stuck to the bench, the ground is clipped to the bench, and he has his Everlast PowerMTS 251si set on TIG mode at 131 amps.
Now he'll come in with the TIG welder but no filler wire and just tack through the holes - just on / off to spot weld it.
Caron knows that the two pieces of steel are at right angles because he has the welding magnet sitting flat on his welding table, and the two pieces of metal perpendicular to each other on two sides of the magnet, so he has a nice right angle.
He has the welder set on 2T, not 4T, so he can just zap through the hole and let it go, then works his way along as he welds. Caron then tacks through the holes.
Next he comes back with filler wire to fill in the divots so he can grind it smooth again.
Now the moment of truth! Caron removes the pieces of metal from the magnet and shows that he has a nice clean T joint at 90 degrees and no welds to clean up. On the outside, he can use a grinder to grind it smooth. Now you're ready for your finish.
Caron is ready to go back to work, so before you go, click that "subscribe" button so you can see his next new video - he uploads them every Wednesday. You can also go to kevincaron.com to see more how-to videos and his wild sculptures.
But first, stick around for a moment to see if Caron can, well, stick something else ....
"Inspired sculpture for public & private places."
Artist Kevin Caron has been sculpting full time since 2006. You can see his more than 45 commissions in public and private places coast-to-coast and online at kevincaron.com.
Please follow me!
Twitter: twitter.com/kevincaronart
Facebook:
facebook.com/kevincaronstudios
About this tutorial
Kevin Caron, Artist published this 6:46 video tutorial on October 31, 2016. It has been watched 38,958 times on YouTube.
- Channel
- Kevin Caron, Artist
- Category
- Howto & Style
- Duration
- 6:46
- Published
- October 31, 2016
- Views
- 38,958
- Likes
- 835
Tags
Share
This tutorial in other languages
- FRComment Plug-Weld - et pourquoi vous voudriez - Kevin Caron
- ESCómo Plug Weld - y por qué te gustaría - Kevin Caron
- PTComo plug Weld - e por que você iria querer - Kevin Caron
- ITCome Plug Weld - e perché ci si vuole - Kevin Caron
- DEWie man Stopfenschweißung - und warum Sie würde wollen, um - Kevin Caron
- NLHoe te Plug Weld - en waarom je zou willen - Kevin Caron
- RUКак Штекер Weld - и почему вы хотели бы - Кевин Кэрон
- PLJak Wtyczka Weld - i dlaczego chcesz chcą - Kevin Caron
- JAどのようにプラグ溶接に - と、なぜあなたがしたいと思います - ケビン・キャノン
- ARكيفية التوصيل لحام - وماذا كنت تريد أن - كيفن كارون
- HIकैसे प्लग वेल्ड करने के लिए - और क्यों आप करना चाहते हैं - केविन कैरोन
- IDCara Plug Weld - dan Mengapa Ingin Kau - Kevin Caron