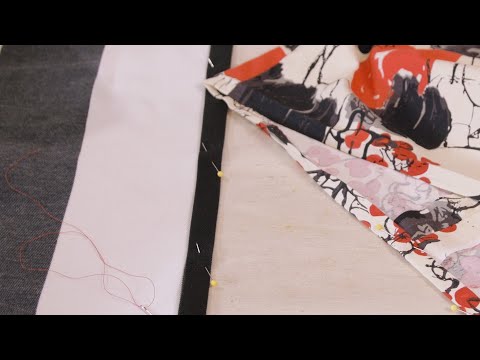
Playback starts YouTube’s embedded player (privacy-enhanced mode).
How to Hand-Sew a Hem on ANY Garment
ChannelAstar's PlaceDescription from the creator
In today's sewing school, I've got a lesson on how to take up the hem on ANYTHING - without a sewing machine! If you had a sewing machine the task would be super easy, but if you don’t that’s not a bother either. Whether it’s a pair of jeans, or a shirt, a skirt, a jacket or a vest, the principle is the same.
This is what you will need:
- Sharp scissors
- Measuring tape, marker – pencil will work
- Pins, needle and matching thread
- Iron
- Ironing board or just place a folded towel over a firm working surface
Method:
Determine the correct length you wish hem taken up too. To this measurement add a good inch or couple of cm. This extra measurement is to provide a double fold.
Mark around hem then cut off surplus to requirement.
Take work to ironing surface and fold up ½ an inch all around. This is to stop any possible fraying. Once you have done this repeat with the last ½ inch.
Pin to hold fold in place.
Thread needle and stitch - hide stitching from the front of garment.
Once finished give hem, a good press to make neat.
Happy stitching!
If you enjoy my channel, please consider supporting me on Patreon: patreon.com/astarsplace
Patreon supporters get exclusive preview access to unreleased episodes, and can watch Astar's Floristry Masterclass - an in-depth 5 hour long floristry design course, not available anywhere else.
Follow me on Facebook: facebook.com/astarsplace
Instagram: instagram.com/astarsplace
Go to astarsplace.co.nz for more!
For Business enquiries email [email protected]
This is what you will need:
- Sharp scissors
- Measuring tape, marker – pencil will work
- Pins, needle and matching thread
- Iron
- Ironing board or just place a folded towel over a firm working surface
Method:
Determine the correct length you wish hem taken up too. To this measurement add a good inch or couple of cm. This extra measurement is to provide a double fold.
Mark around hem then cut off surplus to requirement.
Take work to ironing surface and fold up ½ an inch all around. This is to stop any possible fraying. Once you have done this repeat with the last ½ inch.
Pin to hold fold in place.
Thread needle and stitch - hide stitching from the front of garment.
Once finished give hem, a good press to make neat.
Happy stitching!
If you enjoy my channel, please consider supporting me on Patreon: patreon.com/astarsplace
Patreon supporters get exclusive preview access to unreleased episodes, and can watch Astar's Floristry Masterclass - an in-depth 5 hour long floristry design course, not available anywhere else.
Follow me on Facebook: facebook.com/astarsplace
Instagram: instagram.com/astarsplace
Go to astarsplace.co.nz for more!
For Business enquiries email [email protected]
About this tutorial
Astar's Place published this 12:22 video tutorial on November 13, 2019. It has been watched 7,865 times on YouTube.
- Channel
- Astar's Place
- Category
- Howto & Style
- Duration
- 12:22
- Published
- November 13, 2019
- Views
- 7,865
Tags
Share
This tutorial in other languages
- FRComment la main un ourlet sur un vêtement
- ESCómo a mano para coser un dobladillo en cualquier prenda
- PTComo mão-costurar uma bainha em qualquer peça de vestuário
- ITCome a mano cucire un orlo su qualsiasi indumento
- DEWie man Hand Nähen eines Hem auf jedem Kleidungsstück
- NLHoe maak je Hand-naai een Hem op elk kledingstuk
- RUКак Hand-Сшить Hem на ЛЮБОЙ одежды
- PLJak Ręczne uszyć Hem na dowolną część garderoby
- JAどのように手を縫う裾にANYガーメント上
- ARكيفية اليد خيط لهيم على أي ملابس
- HIकैसे हाथ से सीना एक हेम पर किसी भी गारमेंट के लिए
- IDCara Tangan-Sew a Hem pada APAPUN Garment