Playback starts YouTube’s embedded player (privacy-enhanced mode).
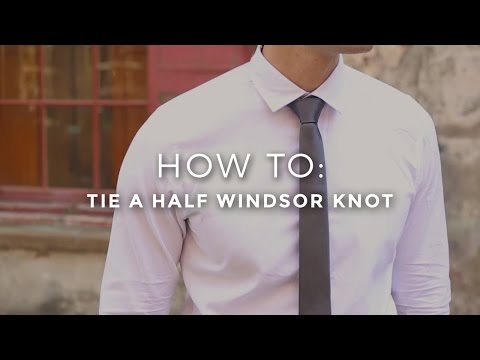
How To Tie a Half Windsor Knot
ChannelIdleDescription from the creator
Learn How To Tie a Half Windsor Knot.
Click here to read Your Guide To Buying And Tying Ties bit.ly/2ayUsYN #StyleMadeEasy
SHOP THE LOOK
Suit Blazer - bit.ly/2b0w4jb
Suit Trousers - bit.ly/2azVkjX
Shirt - bit.ly/2ayX4Ud
Shop the full The Idle Man Collection here: bit.ly/2ayXtpT
Subscribe: youtube.com/c/Idle?sub_confirmation=1
Instagram: instagram.com/idle
Facebook: facebook.com/pages/Theidleman/
Twitter: twitter.com/idle
Website: bit.ly/2b7X2oi
Blog: bit.ly/2b0wypn
The Half Windsor is a smart every day knot. Use a medium too thin tie for the Half Windsor
This will give you a neat and symmetrical triangle shape knot.
Start with the wide end of the tie on the right and the narrow end on the left, like this.
Pass the wide end over the top of the narrow and tuck it behind and wraps around the back.
Next take the wide end force it down to the loop and out to the right to form a tight triangle.
Bring the wide end cross in front of the not moving from right to left.
This time bring the wide end up to the neck loop between your tie and collar button.
Tuck the wide end into the loop that you are formed at the front of the tie and pull it down to create the knot.
To finish it off hold on to the narrow and push the knot up into place
You can make the knot smaller by pulling down on the wide end
Click here to read Your Guide To Buying And Tying Ties bit.ly/2ayUsYN #StyleMadeEasy
SHOP THE LOOK
Suit Blazer - bit.ly/2b0w4jb
Suit Trousers - bit.ly/2azVkjX
Shirt - bit.ly/2ayX4Ud
Shop the full The Idle Man Collection here: bit.ly/2ayXtpT
Subscribe: youtube.com/c/Idle?sub_confirmation=1
Instagram: instagram.com/idle
Facebook: facebook.com/pages/Theidleman/
Twitter: twitter.com/idle
Website: bit.ly/2b7X2oi
Blog: bit.ly/2b0wypn
The Half Windsor is a smart every day knot. Use a medium too thin tie for the Half Windsor
This will give you a neat and symmetrical triangle shape knot.
Start with the wide end of the tie on the right and the narrow end on the left, like this.
Pass the wide end over the top of the narrow and tuck it behind and wraps around the back.
Next take the wide end force it down to the loop and out to the right to form a tight triangle.
Bring the wide end cross in front of the not moving from right to left.
This time bring the wide end up to the neck loop between your tie and collar button.
Tuck the wide end into the loop that you are formed at the front of the tie and pull it down to create the knot.
To finish it off hold on to the narrow and push the knot up into place
You can make the knot smaller by pulling down on the wide end
About this tutorial
Idle published this 1:09 video tutorial on November 8, 2016. It has been watched 198,736 times on YouTube.
- Channel
- Idle
- Category
- Howto & Style
- Duration
- 1:09
- Published
- November 8, 2016
- Views
- 198,736
- Likes
- 1,421
Tags
Share
This tutorial in other languages
- FRComment attacher un demi-noeud Windsor
- ESCómo atar un nudo medio Windsor
- PTComo amarrar a Half Windsor Knot
- ITCome legare un nodo Windsor Mezza
- DEHow To Tie a Half Windsor Knot
- NLHow To Tie a Half Windsor Knot
- RUКак Галстук Half Windsor Knot
- PLJak zawiązać Half Windsor Knot
- JAどのようにするにはタイハーフウインザーノット
- ARكيفية ربط نصف وندسور العقدة
- HIकैसे करने के लिए टाई ए हाफ विंडसर गाँठ
- IDCara Tie a Half Windsor Knot