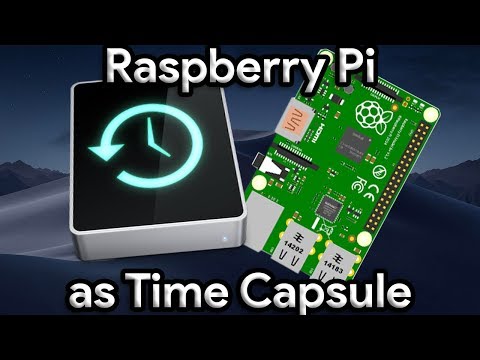
Playback starts YouTube’s embedded player (privacy-enhanced mode).
How to Use Your Raspberry Pi as a Time Machine Backup Server for macOS
ChannelkoreDescription from the creator
Guide: kore.cc/tm-raspi/
Here you will find all commands used in the video.
Have fun! If you run into trouble, feel free to comment or dm.
Products to get started:
• Raspberry Pi (board only):
- Buy on Amazon: kore.cc/geo/amazon/raspi
• Complete Raspberry Pi Kit w/ case, power supply and storage:
- Buy on Amazon: kore.cc/geo/amazon/raspikit
• Toshiba Canvio External USB 3.0 Hard Drive:
- Buy on Amazon: kore.cc/geo/amazon/exthdd
Note: The links above are affiliate links, meaning, at no additional cost to you, I will earn a commission if you click through and make a purchase.
Using HFS+:
If you want to use HFS+, you will need to format the drive on your Mac before. Choose Mac OS Extended (Journaled), disable journaling with this command in your Mac terminal:
sudo diskutil disableJournal NameOfYourVolume
To get your pi to understand HFS+, use:
sudo apt-get install hfsprogs hfsplus
Edit the fstab as shown in 04:36 with "hfsplus" instead of "ext4".
Keep in mind that this enables you to also use the drive locally on your Mac but I do not recommend this since you need to be more careful with unmounting the drive and in some cases, it still gets corrupted even if you did everything right. For something as crucial as backups, I highly recommend using the method shown in the video as ext4 is much more stable when used with a Raspberry Pi.
Here you will find all commands used in the video.
Have fun! If you run into trouble, feel free to comment or dm.
Products to get started:
• Raspberry Pi (board only):
- Buy on Amazon: kore.cc/geo/amazon/raspi
• Complete Raspberry Pi Kit w/ case, power supply and storage:
- Buy on Amazon: kore.cc/geo/amazon/raspikit
• Toshiba Canvio External USB 3.0 Hard Drive:
- Buy on Amazon: kore.cc/geo/amazon/exthdd
Note: The links above are affiliate links, meaning, at no additional cost to you, I will earn a commission if you click through and make a purchase.
Using HFS+:
If you want to use HFS+, you will need to format the drive on your Mac before. Choose Mac OS Extended (Journaled), disable journaling with this command in your Mac terminal:
sudo diskutil disableJournal NameOfYourVolume
To get your pi to understand HFS+, use:
sudo apt-get install hfsprogs hfsplus
Edit the fstab as shown in 04:36 with "hfsplus" instead of "ext4".
Keep in mind that this enables you to also use the drive locally on your Mac but I do not recommend this since you need to be more careful with unmounting the drive and in some cases, it still gets corrupted even if you did everything right. For something as crucial as backups, I highly recommend using the method shown in the video as ext4 is much more stable when used with a Raspberry Pi.
About this tutorial
kore published this 11:02 video tutorial on November 8, 2018. It has been watched 16,946 times on YouTube.
- Channel
- kore
- Category
- Science & Technology
- Duration
- 11:02
- Published
- November 8, 2018
- Views
- 16,946
- Likes
- 271
Tags
Share
This tutorial in other languages
- FRComment utiliser votre Raspberry Pi comme Time Machine Backup Server pour Mac OS
- ESCómo utilizar su Frambuesa Pi como un servidor de copia de seguridad de Time Machine para MacOS
- PTComo usar seu Raspberry Pi como uma Time Machine Backup Server para MacOS
- ITCome utilizzare il Raspberry Pi come un server di backup Time Machine per MacOS
- DESo erreichen Sie Ihre Raspberry Pi als Time Machine Backup-Server für Mac OS Verwenden
- NLHoe tem je een Raspberry Pi gebruiken als een Time Machine back-upserver voor MacOS
- RUКак пользоваться Raspberry Pi в качестве Backup Server Time Machine для MacOS
- PLJak korzystać z Raspberry Pi jako serwer kopii zapasowych Time Machine dla MacOS
- JAMacOSのためのTime Machineのバックアップサーバーとしてラズベリーパイを使用する方法
- ARكيفية استخدام التوت بي الخاص بك كما آلة الزمن خادم النسخ الاحتياطي للماك
- HIMacOS के लिए एक टाइम मशीन बैकअप सर्वर के रूप में आपका रास्पबेरी Pi का उपयोग कैसे करें
- IDCara Menggunakan Raspberry Pi Anda sebagai Time Machine Backup Server untuk MacOS