Playback starts YouTube’s embedded player (privacy-enhanced mode).
How To Fluff and Shape an Artificial Christmas Tree
ChannelBalsam HillChapters
Description from the creator
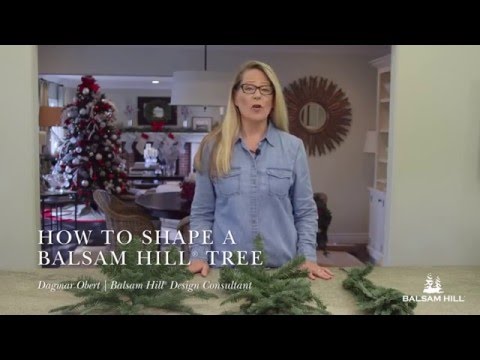
Balsam Hill™ artificial Christmas trees are compressed for shipping, so you need to fluff the branches to make them look fuller. In this video, Design Consultant Dagmar Obert shows how to fluff an artificial Christmas tree to make it look fuller. She showcases her technique using three branch samples from our BH Balsam Fir™.
Instructions:
1. Start at the back of each branch and stagger the tips.
2. Move each tip up or out to the side.
3. Separate the side stems from the main branch.
4. Lift the remaining tips to create layers of foliage.
5. Repeat for every branch of your tree.
Tips for Shaping Your Tree:
1. Start from the bottom section and shape one layer at a time. To make it easier, tie back the upper layers.
2. Keep lights plugged in to check for unlit bulbs. Replace any unlit bulb with the replacement light bulb kit included in the box.
3. Repeat the process for the remaining sections.
4. Shape the top section before attaching it to your tree.
Learn more about fluffing and shaping Christmas trees here: blog.balsamhill.com/b/christmas-tree-setup-fluf…
Connect with us:
Facebook: facebook.com/balsamhill
Twitter: twitter.com/balsamhill/
Instagram: instagram.com/balsamhill
Pinterest: pinterest.com/balsamhill/
Blog: blog.balsamhill.com
Chapters:
0:00 Intro
0:19 Branch Examples
0:34 How to Shape Your Branches
0:44 Start at the Back
1:01 Separating Side Stems
1:15 Creating Layers of Foliage
1:32 Shaping Your Tree
1:54 Checking Your Tree's Lights
2:10 Moving Up the Tree
2:53 Outro
Instructions:
1. Start at the back of each branch and stagger the tips.
2. Move each tip up or out to the side.
3. Separate the side stems from the main branch.
4. Lift the remaining tips to create layers of foliage.
5. Repeat for every branch of your tree.
Tips for Shaping Your Tree:
1. Start from the bottom section and shape one layer at a time. To make it easier, tie back the upper layers.
2. Keep lights plugged in to check for unlit bulbs. Replace any unlit bulb with the replacement light bulb kit included in the box.
3. Repeat the process for the remaining sections.
4. Shape the top section before attaching it to your tree.
Learn more about fluffing and shaping Christmas trees here: blog.balsamhill.com/b/christmas-tree-setup-fluf…
Connect with us:
Facebook: facebook.com/balsamhill
Twitter: twitter.com/balsamhill/
Instagram: instagram.com/balsamhill
Pinterest: pinterest.com/balsamhill/
Blog: blog.balsamhill.com
Chapters:
0:00 Intro
0:19 Branch Examples
0:34 How to Shape Your Branches
0:44 Start at the Back
1:01 Separating Side Stems
1:15 Creating Layers of Foliage
1:32 Shaping Your Tree
1:54 Checking Your Tree's Lights
2:10 Moving Up the Tree
2:53 Outro
About this tutorial
Balsam Hill published this 3:01 video tutorial on October 26, 2016. It has been watched 419,217 times on YouTube.
- Channel
- Balsam Hill
- Category
- Howto & Style
- Duration
- 3:01
- Published
- October 26, 2016
- Views
- 419,217
- Likes
- 801
Share
This tutorial in other languages
- FRComment Fluff et la forme d'un arbre de Noël artificiel
- ESCómo pelusa y la forma de un árbol de Navidad artificial
- PTComo Fluff e forma uma árvore de Natal artificial
- ITCome Fluff e forma un albero di Natale artificiale
- DEWie man Fluff und Form eines künstlicher Weihnachtsbaum
- NLHow To Fluff en Vorm een kunstkerstboom
- RUКак пух и форма искусственной елка
- PLJak Fluff i Shape sztuczna choinka
- JAどのようにするには綿毛や形状人工クリスマスツリー
- ARكيفية الزغب وشكل شجرة عيد الميلاد الاصطناعية
- HIकैसे फुलाना और आकार एक कृत्रिम क्रिसमस ट्री
- IDCara Fluff dan Shape sebuah Buatan Pohon Natal