Playback starts YouTube’s embedded player (privacy-enhanced mode).
How to Make a Christmas Yule Log
ChannelHowcastDescription from the creator
Watch more Christmas Trees & Decorations videos: howcast.com/videos/402273-How-to-Make-a-Christm…
You can use this festive yule log to celebrate the season year after year.
Warning
When using power tools, always use precaution and wear safety goggles.
Step 1: Find a log
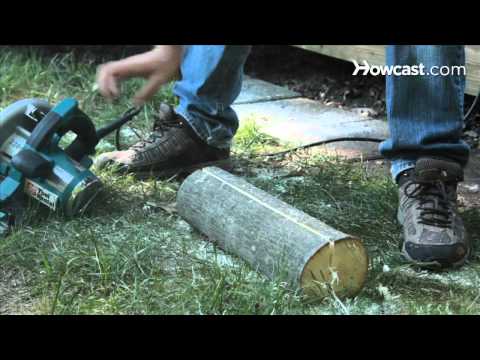
Find a dried piece of oak, about five inches thick, and cut it to between 14 and 18 inches long.
Step 2: Flatten one side
Use the circular saw or a table saw to flatten one side of the log, shaving off enough wood to enable the log to sit flat without wobbling.
Tip
You can also use a cold chisel and hammer or a planer to flatten your log.
Step 3: Mark hole locations
Use your tape measure and pencil to mark for three evenly spaced holes on the top of the log.
Step 4: Drill holes
Drill holes into the log where you marked to serve as candle holders. Use candles and holes between 1/2- and 3/4-inch in diameter.
Step 5: Spray with shellac
Spray the log with shellac. When it's dry, insert your candles into the holes.
Step 6: Decorate the log
Use the hot glue gun to attach decorative branches, holly, mistletoe, and ribbon to your log.
Step 7: Burn the candles
Burn the candles in your yule log throughout the holiday season. Then carefully pack it away and use it to celebrate for years to come.
Did You Know?
The yule log originated in medieval Scandinavia as a pagan celebration of the winter solstice.
You can use this festive yule log to celebrate the season year after year.
Warning
When using power tools, always use precaution and wear safety goggles.
Step 1: Find a log
Find a dried piece of oak, about five inches thick, and cut it to between 14 and 18 inches long.
Step 2: Flatten one side
Use the circular saw or a table saw to flatten one side of the log, shaving off enough wood to enable the log to sit flat without wobbling.
Tip
You can also use a cold chisel and hammer or a planer to flatten your log.
Step 3: Mark hole locations
Use your tape measure and pencil to mark for three evenly spaced holes on the top of the log.
Step 4: Drill holes
Drill holes into the log where you marked to serve as candle holders. Use candles and holes between 1/2- and 3/4-inch in diameter.
Step 5: Spray with shellac
Spray the log with shellac. When it's dry, insert your candles into the holes.
Step 6: Decorate the log
Use the hot glue gun to attach decorative branches, holly, mistletoe, and ribbon to your log.
Step 7: Burn the candles
Burn the candles in your yule log throughout the holiday season. Then carefully pack it away and use it to celebrate for years to come.
Did You Know?
The yule log originated in medieval Scandinavia as a pagan celebration of the winter solstice.
About this tutorial
Howcast published this 1:37 video tutorial on November 6, 2010. It has been watched 35,129 times on YouTube.
- Channel
- Howcast
- Category
- Howto & Style
- Duration
- 1:37
- Published
- November 6, 2010
- Views
- 35,129
- Likes
- 104
Tags
Share
This tutorial in other languages
- FRComment faire un Noël Bûche
- ESCómo hacer un registro de Yule de la Navidad
- PTComo Fazer um registro de Yule Natal
- ITCome fare un Yule Log Natale
- DEWie man einen Weihnachts Julblock
- NLHoe maak je een kerst Yule Log
- RUКак сделать рождественскую Yule Войти
- PLJak zrobić świąteczne Yule log
- JAクリスマスユールログを作成する方法
- ARكيفية جعل عيد الميلاد عيد ميلاد المسيح دخول
- HIएक क्रिसमस यूल लॉग बनाने के लिए कैसे
- IDCara Membuat Natal Yule Log