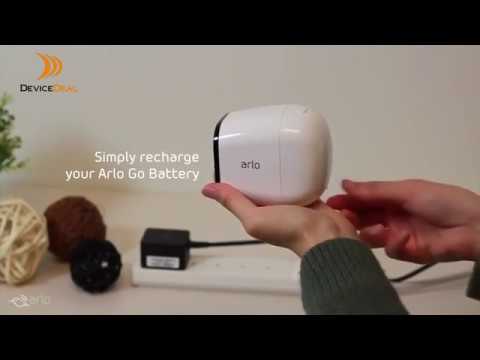
Playback starts YouTube’s embedded player (privacy-enhanced mode).
How to Setup Arlo Go Security Camera
ChannelDevice DealDescription from the creator
The Arlo Go Mobile HD Security Camera set up is simple and seamless, just see for yourself.
The Arlo Go Mobile HD Security Camera is the first 100% wire-free, weatherproof, 3G/4G-LTE mobile HD security camera. The Arlo Go operates off LTE and will require a sim card and mobile plan before using. First, insert the SIM card after you have confirmed your SIM card is activated by your provider. If you would like to sore recordings locally, you may use a microSD card in addition to the cloud. Then place the battery to power on your Arlo Go Camera.
Create an account or sign into your existing Arlo account using the Arlo mobile app. Follow the simple steps to add your camera to your account and connect your camera online. Scan the QR code by pointing the camera to your mobile device. A happy chime will play once your camera is connected. And then you're ready to go!
Why Choose Arlo Go?
Arlo understands your challenges. You don’t have a big IT team or budget, but that
doesn’t mean you can’t protect your property. Arlo Go makes it easy and affordable
to keep your business secured around the clock.
Easy to install, small equipment size, no backroom to maintain.
Free mobile and web apps so you can monitor your business from anywhere.
Works anywhere on the LTE network coverage areas*.
Easily move cameras to new locations based on your needs, with our innovative mounts.
No DVRs or tapes to maintain or risk damaging. Recordings are instantly stored in the cloud, so you have the evidence you need.
Rechargeable Battery: Long-lasting, takes the expense out of uninterrupted security.
devicedeal.com.au/arlo-camera
The Arlo Go Mobile HD Security Camera is the first 100% wire-free, weatherproof, 3G/4G-LTE mobile HD security camera. The Arlo Go operates off LTE and will require a sim card and mobile plan before using. First, insert the SIM card after you have confirmed your SIM card is activated by your provider. If you would like to sore recordings locally, you may use a microSD card in addition to the cloud. Then place the battery to power on your Arlo Go Camera.
Create an account or sign into your existing Arlo account using the Arlo mobile app. Follow the simple steps to add your camera to your account and connect your camera online. Scan the QR code by pointing the camera to your mobile device. A happy chime will play once your camera is connected. And then you're ready to go!
Why Choose Arlo Go?
Arlo understands your challenges. You don’t have a big IT team or budget, but that
doesn’t mean you can’t protect your property. Arlo Go makes it easy and affordable
to keep your business secured around the clock.
Easy to install, small equipment size, no backroom to maintain.
Free mobile and web apps so you can monitor your business from anywhere.
Works anywhere on the LTE network coverage areas*.
Easily move cameras to new locations based on your needs, with our innovative mounts.
No DVRs or tapes to maintain or risk damaging. Recordings are instantly stored in the cloud, so you have the evidence you need.
Rechargeable Battery: Long-lasting, takes the expense out of uninterrupted security.
devicedeal.com.au/arlo-camera
About this tutorial
Device Deal published this 1:55 video tutorial on November 11, 2019. It has been watched 45,703 times on YouTube.
- Channel
- Device Deal
- Category
- Science & Technology
- Duration
- 1:55
- Published
- November 11, 2019
- Views
- 45,703
- Likes
- 71
Share
This tutorial in other languages
- FRComment installer Arlo Go Caméra de sécurité
- ESCómo configurar la cámara Arlo Ir Seguridad
- PTComo em Setup Arlo Go Segurança
- ITCome Camera Setup Arlo Vai Sicurezza
- DEWie Setup Arlo Go-Überwachungskamera
- NLHoe je Arlo Go Security Camera
- RUКак Настройка Arlo Go камеры безопасности
- PLJak skonfigurować Arlo Go Aparat bezpieczeństwa
- JAどのようにセットアップアーロ・ゴー防犯カメラに
- ARكيفية إعداد الكاميرا Arlo العودة الأمن
- HIकैसे सेटअप आर्लो जाओ सुरक्षा कैमरा करने के लिए
- IDCara Setup Kamera Arlo Go Keamanan