Playback starts YouTube’s embedded player (privacy-enhanced mode).
How to Configure Pidgin for Google Talk
ChannelHOWTECHDescription from the creator
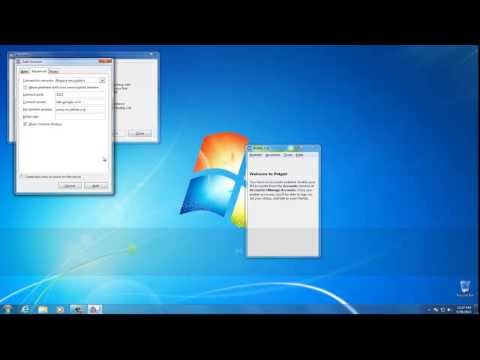
In this tutorial you will learn how to configure Pidgin for Google Talk.
Don't forget to check out our site howtech.tv/ for more free how-to videos!
youtube.com/ithowtovids - our feed
facebook.com/howtechtv - join us on facebook
plus.google.com/103440382717658277879 - our group in Google+
In this tutorial you will learn how to configure Pidgin for Google Talk.
Prerequisites: Windows, Pidgin, Google Talk
Step 1. Press "Start" button at the bottom of your screen.
Step 2: Write "pidgin" in the search field.
Step 3: Click on the Pidgin icon to start the program.
Step 4: On the top of Pidgin interface window, click "Accounts" link and then click " Manage Accounts".
Step 5: At the bottom of the new interface window, click the "Add" button.
Step 6: You are now in the "Add Account" menu. Click on the little arrow near "Protocol". From drop-down menu choose "Google Talk".
Step 7: Fill in all new account details for Google Talk.
Step 8: Click "Advanced" link from the top of menu window. Fill in all needed details for connect server talk.google.com .
Step 9: After you've completed all the fields, click "Add" button.
Step 10: You new account name will appear in the "Accounts" window.
Step 11: The Pidgin interface window will now show you as "available".
Result: Congratulations! You have now learned how to configure Pidgin for Google Talk.
Don't forget to check out our site howtech.tv/ for more free how-to videos!
youtube.com/ithowtovids - our feed
facebook.com/howtechtv - join us on facebook
plus.google.com/103440382717658277879 - our group in Google+
In this tutorial you will learn how to configure Pidgin for Google Talk.
Prerequisites: Windows, Pidgin, Google Talk
Step 1. Press "Start" button at the bottom of your screen.
Step 2: Write "pidgin" in the search field.
Step 3: Click on the Pidgin icon to start the program.
Step 4: On the top of Pidgin interface window, click "Accounts" link and then click " Manage Accounts".
Step 5: At the bottom of the new interface window, click the "Add" button.
Step 6: You are now in the "Add Account" menu. Click on the little arrow near "Protocol". From drop-down menu choose "Google Talk".
Step 7: Fill in all new account details for Google Talk.
Step 8: Click "Advanced" link from the top of menu window. Fill in all needed details for connect server talk.google.com .
Step 9: After you've completed all the fields, click "Add" button.
Step 10: You new account name will appear in the "Accounts" window.
Step 11: The Pidgin interface window will now show you as "available".
Result: Congratulations! You have now learned how to configure Pidgin for Google Talk.
About this tutorial
HOWTECH published this 1:12 video tutorial on November 7, 2013. It has been watched 8,101 times on YouTube.
- Channel
- HOWTECH
- Category
- Howto & Style
- Duration
- 1:12
- Published
- November 7, 2013
- Views
- 8,101
- Likes
- 13
Share
This tutorial in other languages
- FRComment Configurer Pidgin pour Google Talk
- ESCómo configurar Pidgin para Google Talk
- PTComo configurar o Pidgin para o Google Talk
- ITCome configurare Pidgin per Google Talk
- DESo konfigurieren Pidgin für Google Talk
- NLHoe te configureren Pidgin voor Google Talk
- RUКак настроить Pidgin для Google Talk
- PLJak skonfigurować Pidgin dla Google Talk
- JAどのようにGoogleトークのために設定しピジンへ
- ARكيفية تكوين بجين لمجموعات نقاش
- HIकैसे गूगल टॉक के लिए कॉन्फ़िगर Pidgin के लिए
- IDCara Konfigurasi Pidgin untuk Google Talk