Playback starts YouTube’s embedded player (privacy-enhanced mode).
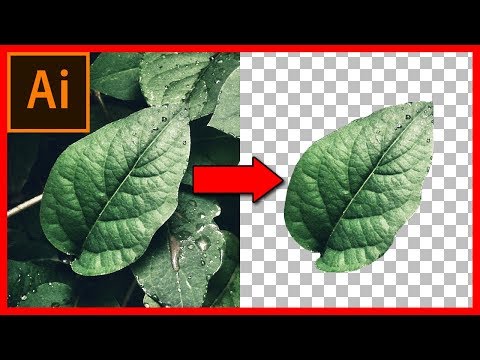
How to cut out an image / object in Illustrator CC 2018
ChannelTutorials4viewIn brief
You’ll isolate an object from its background in Illustrator CC 2018 using the Pen tool, then export it as a transparent PNG. This method works well for graphic designers or anyone editing vector-based images.
Questions & answers
What version of Illustrator is used?
Illustrator CC 2018.
Description from the creator
In this step by step Illustrator CC tutorial we will teach you how to cut out an object within an image in Illustrator CC in order to remove it's background and export it as a PNG file with transparency ( Cut out an image with Illustrator ), for this Illustrator tutorial we will use the pen tool to cut out a portion of the image and put it on a different layer, the end result will be removing the object from the rest of the background ( It shows you how to remove the background in Illustrator AKA cutting out an object).
More of our videos:
youtube.com/user/ShaiSoft/videos
Like us on Facebook:
facebook.com/groups/363968490310325
#illustrator #illustratortutorial #illustratorcc #graphicdesign
More of our videos:
youtube.com/user/ShaiSoft/videos
Like us on Facebook:
facebook.com/groups/363968490310325
#illustrator #illustratortutorial #illustratorcc #graphicdesign
About this tutorial
Tutorials4view published this 2:32 video tutorial on October 25, 2018. It has been watched 2,681,051 times on YouTube.
- Channel
- Tutorials4view
- Category
- Howto & Style
- Duration
- 2:32
- Published
- October 25, 2018
- Views
- 2,681,051
- Likes
- 31,397
Tags
Share
This tutorial in other languages
- FRComment découper une image / objet dans Illustrator CC 2018
- ESCómo recortar una imagen / objeto en Illustrator CC 2018
- PTComo cortar uma imagem / objeto no Illustrator CC 2018
- ITCome tagliare un'immagine / oggetto in Illustrator CC 2018
- DEWie schneidet 2018 ein Bild / Objekt in Illustrator CC aus
- NLHoe te snijden uit een beeld / object in Illustrator CC 2018
- RUКак вырезать изображение / объект в Illustrator CC 2018
- PLJak wyciąć obraz / obiekt Illustrator CC 2018
- JAイラストレーターCC 2018で画像/オブジェクトをカットする方法
- ARكيفية قطع صورة / وجوه في Illustrator CC 2018
- HIकैसे इलस्ट्रेटर सीसी 2018 में एक छवि / वस्तु बाहर कटौती करने के लिए
- IDBagaimana untuk memotong gambar / objek di Illustrator CC 2018